Tall Ceramic Lamps are Fragile, or “Planning for Damage!”

IMG_3427

IMG_3428

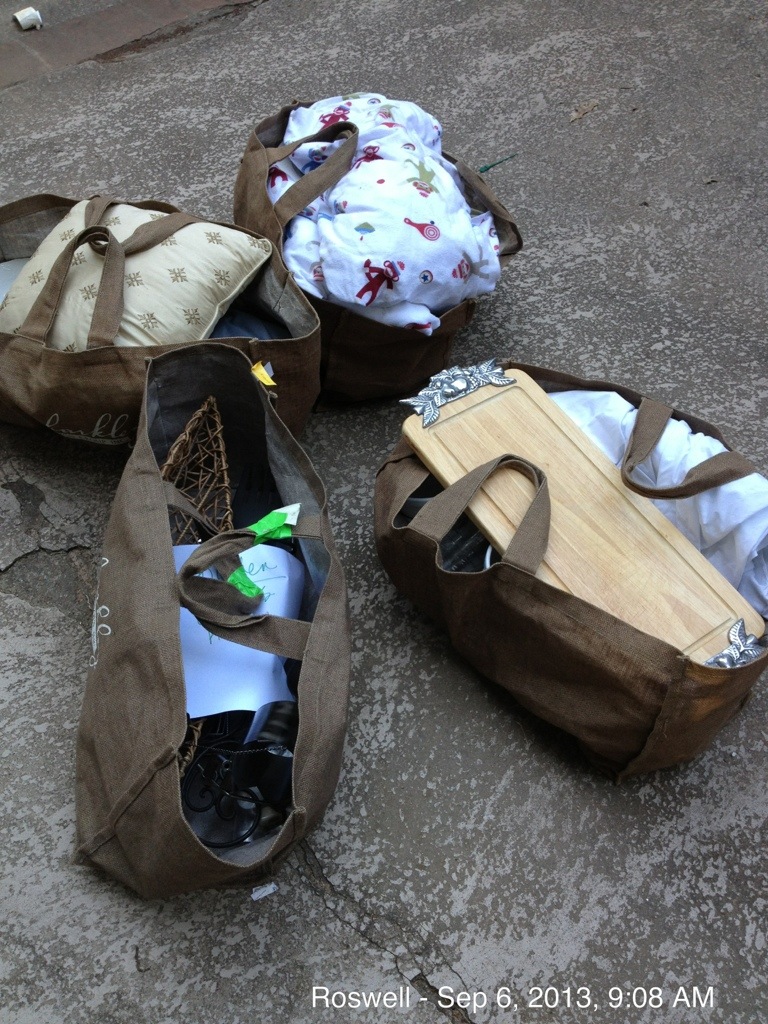
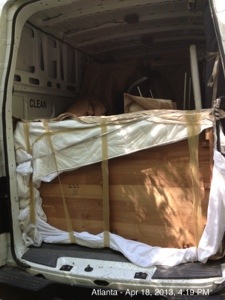
A customer had hired another mover to box-pack her items in New York, and transport—them to a storage unit in Atlanta, Georgia.  We moved the items from the storage unit to her new apartment.

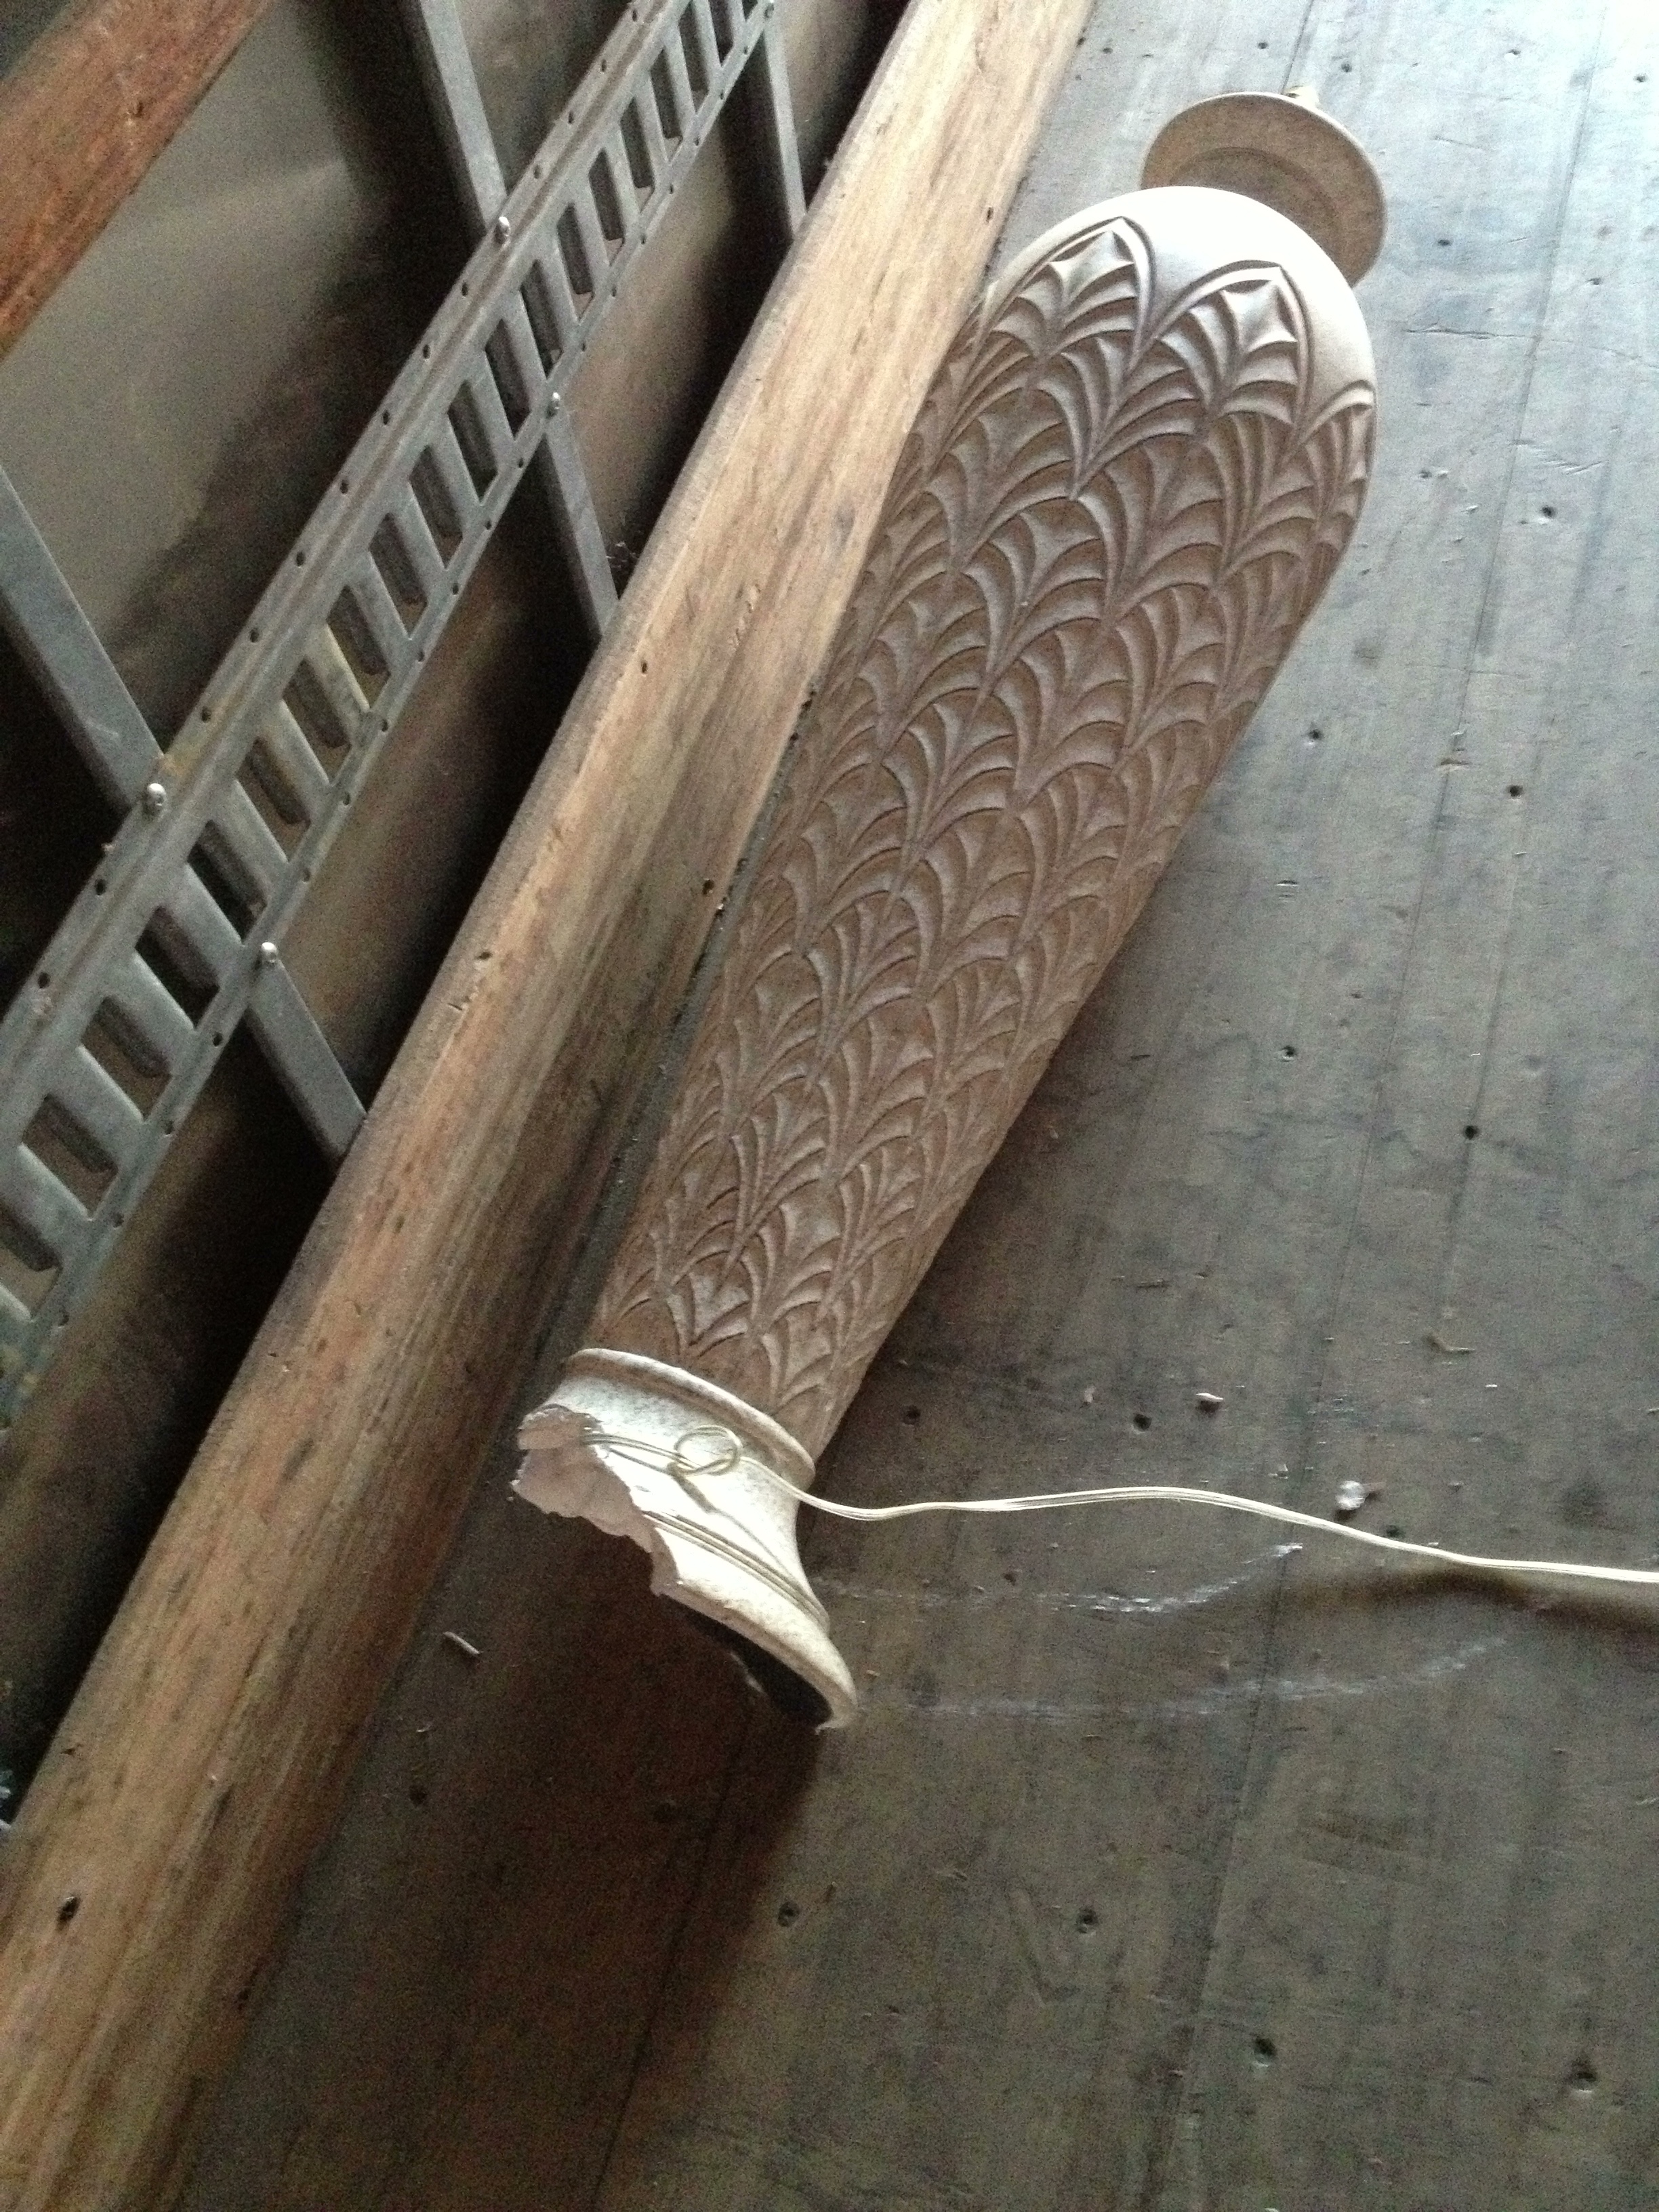
The New York movers had packed this tall, ceramic lamp pictured above–in a wardrobe box—and here’s the sad part—they surrounded the fragile lamp with heavy books! 

So you now had a big heavy box which meant you needed a hand truck to move it.  But going up or down stairs, you were now bouncing the heavy books against the fragile lamp.  That’s called “Planning for a Damage Claim.” (You’ve heard of “Planning for Success;” well this is planning for damage!

Galileo’s “Square-Cube Law” explains how as an object gets bigger, it tends to get weaker unless it becomes relatively significantly more dense.  A tall standing lamp like this one tends to be more fragile than if it was table-sized.  So if any item should get the tender treatment—it was this lamp—but instead they piled books on top of it.  And the damage seen in these pictures was the result!

How should the lamp have been box-packed?  In a “lamp box” (with the shade in a separate box).

In the event there was no lamp box available—and the lamp box is one of the less commonly available type of boxes—then a tall wardrobe box could have been used, but no other inventory items could be placed in the box! (I don’t think I would use hanging clothes as padding next to the ceramic lamp, but it is an interesting idea.  If I didn’t have styrofoam peanuts, or newsprint, or pads, then I might use hanging clothes

"Wardrobe Box"

“Wardrobe Box”

And the empty area in the box would have to be filled with something.  You could use a lot of styrofoam “peanuts,” or newsprint, or quilted pads. (The Mover would want to get his pads back at the destination, or else charge for them)

In the “World of Claims,” lamps are an item that is 1) both fragile and relatively easy to damage, and 2) closer to the owner’s heart than a lot of inventory items.  Compare “lamps” with say, the “end tables” they sit on.  Even a nice end table is basically an inert, square chunk of shiny wood, whereas a lamp is a “light giving” thing which is often sculptured and artistic like a vase.  The lamp’s owner frequently touches it directly to turn it on and off, whereas the end table just holds glasses, and magazines etc.

This particular lamp in the picture was given to the customer by her now deceased Mother, so the lamp’s loss was particularly painful!

Protect those lamps!  Especially the more fragile ones.

DIY Moving Humor: Moving Fragile Dishes in Paper Bags (?!)

20141211-190427.jpg

One of the jokes or “tropes” in DIY (do-it-yourself) Moving is that motivation and morale starts out gloriously high, but plunges to a precipitously low level as the move goes on. Many customers who did their own box-packing told me, “When I started out, I was meticulously wrapping and carefully box-packing everything, but as time ran out, I just threw the items in the box any old way!”

At the latter, more severe stages, the DIY Box-Packer dispenses with boxes altogether. The picture above shows bags(!) of dishes: Not exactly the preferred method for packing and moving fragile items. I like how they put pillows at the top of the bags to try to cushion the plates.

Moving Floor Lamps

IMG_0354

Target and Walmart sell millions of these cheap floor lamps, and beginning movers and do-it-yourselfers break these every day.

Since they are long and relatively light, the intuitive thing is to to lay them horizontally, high in a tier.

Don’t lay down a floor lamp this way!; And along the side of the truck is not a tier !!!

Don’t lay down a floor lamp this way!; And along the side of the truck is not a tier !!!

The problem is they are very cheap to buy for a reason—they are very cheaply made!  The round base is screwed into two or three poles, all screwed together, and then finally screwed into the light at the top.  If you assemble the lamp and stand it up vertically, then okay, it will probably hold together.  But turn it on its side and lay it down . . . Good luck!  The screw rings are a marvel of “Value Engineering,” meaning they are designed as cheaply as possible.  And “designed as cheaply as possible” means only designed to stand up, not to lay horizontally.

Each of the screw-together points is a weak point where breakage is possible, even likely.  In my experience, when these are moved in the lay-down fashion, the most common breakage point is where the round floor base connects to the first pole.  This round floor base often snaps off the first pole, and the lamp will stand straight no more!

The only safe way to move these is to tie them against the wall.

IMG_3170

Since the lamps are fragile even while standing, we are using a lighter-than-usual pad to cover the top of the lamp.  Instead of a regular quilted pad, we are usually a light blanket (actually a “U-haul” blanket which a customer left us)  You could get by, by tying it to the wall uncovered, but then the metal lamp fixture would rub against the truck wall and likely leave marks on the lamp.

In two decades I have never seen a floor lamp damaged when tied to the wall in this fashion, but have seen them damaged countless times when laid down at the top of a tier.

Moving a Barber Shop

In the moving world there is a category of moves called “Office and Industrial” or “O & I.” “Industrial Moves” are where it isn’t a home, or office, but something a little “nastier” like a factory, or service shop of some kind (shoe repair, electrical repair etc), or in this case, a “Barber Shop!”

I say “nastier,” because industrial moves often involve “MACHINES” or “machine-like” inventory. We moved a Shoe Repair shop once and it had a surprising number of machines. One of these machines was so heavy it BROKE a four-wheel dolly! Other machines leaked oil all over the truck.

Before moving this Barber Shop, I remembered hearing a story from a friend who had moved a barber chair and said oil leaked all over the place. I asked this Barber Shop owner whether she thought the oil would leak out of her chairs. She said they do leak some, but downplayed it. During the move, the chairs leaked everywhere–all over the shop as we were wheeling them out; all over the stairs; all over the truck ramp; all over the truck cargo box floor, and all over the concrete storage unit at the destination!

The customer did not care about the oil all over the shop and stairs she was departing–and probably expected it. The storage unit was someone else’s concern, but the truck’s ramp and cargo box floor was MY CONCERN! We put pads on the ramp just as we do when it was raining, but this was oil instead of rainwater we needed to protect ourselves against slipping on. Below is a picture of how we cover the ramp with pads when it is raining:

"Putting Pads on the Ramp Keeps Workers From Slipping on a Wet Ramp"

“Putting Pads on the Ramp Keeps Workers From Slipping on a Wet Ramp”

.

I don’t have a picture of it, but we put old cardboard boxes on the wood of the truck cargo box to help catch the oil.

Below are pictures of the barber chairs and the leaky mess they left over the floors.

20131204-171522.jpg

20131204-171713.jpg

"An Oily Mess on the Floor of the Customer's Storage Unit"

“An Oily Mess on the Floor of the Customer’s Storage Unit”

There must be a protocol to close off the barber chairs in some way so they do not leak oil when moved. Perhaps there is a plug you put in, or maybe you can do some heavy duct taping. If anyone has experience with this, or knows the correct way to move barber chairs without leaking oil, please reply in the comments below.

Extreme Truck Packing

When you’re loading a truck, do you sometimes get to the end of the truck and find you’re out of truck space? I hate that. But when you have exceeded the limits–how about INCREASING THE LIMITS? Sometimes you can do that.

In the first picture below there is a bulky trundle bed frame tied

    on the outside of the closed door.

You need to have some sort of small platform at the end of the truck in order to do this. Some trucks do not have it, but the majority of trucks do, as does this one as you can see in the picture. There is about a 12 inch platform where you can stand and close the door, or in this case, tie excess inventory on the back!

"Wasn't That Supposed To Be Inside The Truck?"

“Wasn’t That Supposed To Be Inside The Truck?”

Needless to say, you want to have the item tied on tight. You don’t want it falling off on the highway. But if you use at least two ropes or cables, and tie them tight, you can feel pretty secure the item will stay there. In this case with the trundle bed frame, we first thought of standing it up straight, but the bars on each side of the truck where we could tie the ropes, were too low to accommodate that. The bed frame was much more secure by resting it horizontally across the platform.

But what do you do when the 12″ platform is not enough accommodate the multiple excess pieces you need on load? In the next picture below, the movers PULLED OUT THE RAMP a couple feet so there were about three feet of “platform” beyond the normal 24′ of truck cargo space.

"I Hope It Doesn't Rain"

“I Hope It Doesn’t Rain”

However this technique really must be included in the “Don’t try this at home” category, because of the following risks:

1) You certainly cannot drive very far like this. The items in this case are mattresses and box-springs which are very vulnerable to rain!
2) It would be pushing the patience of a police officer who might drive by.

But it can save having to make a second trip. I have to say I would have been more comfortable with another couple straps tied across horizontally. But the items got there safely . . . This is definitely Extreme Truck Packing!

Why You Should Not Load Cleaning Supplies Into the Moving Truck

20130924-154456.jpg
A BOX SOAKED THROUGH AND SPLIT APART BY AN OPEN BLEACH BOTTLE!

20130924-154646.jpg
THE SPILLED BLEACH WET ON THE MOVING TRUCK FLOOR.

As a Moving Worker, it is not pleasant to work inside a truck FILLED WITH BLEACH FUMES!

And if you were the customer being moved, how would you feel if that spilled bleach soiled, say, your $3000 red leather sofa?!

HOW TO MOVE CLEANING SUPPLIES

THE first and main principle is you CANNOT LOAD CLEANING SUPPLIES INTO THE MOVING TRUCK! Boxes are meant to be Stacked! A bottle of bleach within a stacked box within a packed truck of household goods, is–wait for the cliche–a very nasty “accident waiting to happen!” In the pictures above, the customer placed the bleach bottle in the box WITHOUT A CAP(!) or with a loose cap. {You can see how that can happen. The person is rushing to finish the packing before the Movers get there, and “Oh, I forgot the moving supplies!”}

Really the only way to move the cleaning supplies is in your car, preferably in an open plastic crate sitting sitting on the floor in front of the front passenger seat, so you can watch it. CHECK AND TIGHTEN THE BOTTLE LIDS!

Using Colored Tape on Boxes as a Room Identifier

Labeling boxes can be a “bugaboo:”

20130923-170319.jpg

1) Do you black-mark or place a label on the TOP of the box? It is physically the easiest, but when there are several boxes stacked together, you cannot see the bottom boxes’s labels without moving around some boxes. It also can be hard to read the writing.

20130923-170454.jpg

2) Do you black-mark or place a label on the SIDE of the box? This is definitely the preferred way if you have many stacks of boxes. YOU CAN SEE THE LABEL OF EACH BOX! But it is physically more difficult. It takes TRAINING, and intuitively seems like overkill, even if it is not.

20130923-180716.jpg

3) Do you buy those pre-printed labels that say “Living Room,” “Master Bedroom,” “Bed Rm #2” and so on.

These labels can work, but:
A) They are an extra expense
B) You have a tendency to run out of labels in a particular category (you have more than 10 boxes going to the basement etc)
C) You might want it to say “Josh’s bedroom” rather than “Bed Rm #3)

20130924-155351.jpg

This brings us to new box-labeling technique I saw recently:

20130923-164333.jpg

“STRIPS OF COLORED TAPE ACROSS THE TOP OF THE BOXES AND A COUPLE INCHES DOWN THE SIDE (With the different colors associated with different rooms)

ADVANTAGES OF THIS METHOD

1) The quickest form of identification!
A) You don’t have to struggle to read someone’s scribbling
B) You don’t have to hunt for the label–is it on the top or on the side? The tape is on both the top and the side (It reminds me of the yellow security labeling “Customs” might use at the airport)

DISADVANTAGES OF THIS METHOD

1) You can still run out of colored tape for a particular room.

ECONOMIC ISSUES

The “Penney Wise, Pound Foolish” fallacy is rampant in Moving. The person being moved is spending hundreds–or more likely THOUSANDS–in dollars and time. Small efficiencies like improved box-labeling pay dividends at several different stages of the move:
1) During box-packing
2) During the actual move: The brightly taped boxes make it easier for the Movers to see which boxes go to which room. On the hand trucks, they stack like-colored boxes together.
3) During box-unpacking

CONCLUSION

I am not recommending or selling a particular labeling method. But simply opening up the discussion. What kind of box-labeling system do you use?

Moving a Customer to Missoula, Montana

20130506-000259.jpg
THE NISSAN NV2500 LOADED AND READY TO DRIVE TO MONTANA

This high-roof van with 10 feet cargo space behind the seats, holds about 2000 lbs of household goods, including the moving equipment. Fortunately this load only had about 1600 pounds and we had room to spare!

But the most critical part of this eight-day moving project was getting all the items in the small van. My original survey indicated this load was “pushing” 2000 pounds. There was a huge cost and comfort savings to going with this NV2500 van rather than the next bigger van–a 15 foot box truck. So I had the backup plan of shipping by UPS or DHL if had been two or three final items which would not fit in the NV2500.

20130506-000550.jpg
PARKED AT A REST STOP IN PADUCAH, TENNESSEE

20130506-000733.jpg
THE ST. LOUIS GATEWAY ARCH

20130506-005635.jpg THE GATEWAY ARCH ARCING OVER THE PARK LIKE A SILVER RAINBOW

20130513-213339.jpg

SD 2

SD 3 SNOW IN SOUTH DAKOTA! I did this trip in late April 2013. A month before, in March, the customer said there was snow in Missoula, MT that week, but that by the time I got there in late April there was sure not to be snow. In no way did I prepare for snow! I brought a couple light fleece jackets and one heavier jacket, and some light gloves, but didn’t even have a hat, and had no real serious snow wear. When I was near Omaha, Nebraska, I stopped for lunch, and checked my iPhone for weather reports on the area ahead–which was Sioux Falls, South Dakota. On the “Weather Channel” Ap, there was an exclamation mark for Sioux Falls, SD, warning of severe weather. In Atlanta, where I live, a “severe weather” warning might warn of possible tornadoes 75 miles north, or floods 50 miles south. But this warning for Sioux Falls, SD, said “Six Inches of Snow Expected, and Record Lows of 10 degrees! I quickly looked at the map and checked the weather predictions for going on a more southward path through Nebraska rather than South Dakota. The weather predicted in Nebraska was just as bad, and I really wanted to drive through South Dakota.

I grew up in Southern California, and when I saw snow it was because we were going on a special trip to SEE SNOW(!) either to go skiing or just look at the beautiful snowy mountains. When we started driving in the morning, there was no snow on the ground, and there was snow at the ski area, and no snow again as we drove back. On this Montana trip, I DROVE FOR A DAY AND A HALF WITH SNOW ON THE GROUND! — all the way through South Dakota.

SD Road

20130506-005821.jpg AN INTERSTATE MOVE USUALLY DOESN’T INCLUDE PALATIAL LODGING

Fred's Mesquite Grill in Butte, MT SITTING AT THE BAR AT “FRED’S MESQUITE GRILL” IN BUTTE, MONTANA: I had Halibut, Veggies, Tiramisu, an Newcastle Beer. I usually drink wine at dinner rather than beer, but I had two hours of driving ahead of me that night, to get to Missoula, and beer makes me a little less intoxicated.

Last Stretch Road to Missoula

20130506-010031.jpg EARLY MORNING IN MISSOULA BEFORE UNLOADING TO THE CUSTOMER’S 4TH STORY APARTMENT

20130506-010219.jpg

20130506-010310.jpg

20130506-010341.jpg THREE VIEWS ABOVE FROM THE BALCONY OF THE CUSTOMER’S APARTMENT

20130506-010742.jpg

20130506-010817.jpg

20130506-010853.jpg THREE VIEW ABOVE OF THE BEAUTIFUL MISSOULA RIVER

20130506-011013.jpg ON THE RUNWAY AT THE MISSOULA AIRPORT AWAITING TAKEOFF TO FLY HOME

20130506-011135.jpg

Moving Golf Bags

Image

20130210-112051.jpg

Some people are golf fanatics that play twice a week or more, and some have basically stored their clubs in the garage long-term. As a mover, it helps to know which kind of client you have.

When I used to play golf seriously (in High School), I would not have wanted anyone else banging and moving around my clubs, and as a mover, I hope that the real golf aficionado moves his own clubs. But even the serious golfer may need the mover to move the clubs. The mover is there to provide the moving service, and the client may have multiple golf bags to be moved. I am curious what level of protection is used when moving Tiger Woods’ clubs and other PGA members. I cannot even tell you the standard procedure for transporting golf clubs in an airplane, though I recall seeing fitted corners that go over the top of the bag. I would be interested in comments on the different levels of protection when flying golf clubs on an airline.

Below is how I wrapped a client’s golf clubs.

20130210-113705.jpg

Putting golf bags in a Wardrobe box would add another level of protection.